Simulieren von JVM-Anwendungsfehlern
Diese Seite wurde von PageTurner AI übersetzt (Beta). Nicht offiziell vom Projekt unterstützt. Fehler gefunden? Problem melden →
Chaos Mesh simuliert Fehler in JVM-Anwendungen mithilfe von Byteman. Die unterstützten Fehlertypen sind:
-
Benutzerdefinierte Ausnahmen auslösen
-
Garbage Collection auslösen
-
Methodenlatenz erhöhen
-
Rückgabewerte von Methoden ändern
-
Fehler durch Konfiguration von Byteman-Dateien auslösen
-
JVM-Druck erhöhen
Dieses Dokument beschreibt, wie Sie mit Chaos Mesh Experimente für die genannten JVM-Fehlertypen erstellen.
Ihr Linux-Kernel muss Version 4.1 oder höher sein.
Experimente mit Chaos Dashboard erstellen
-
Öffnen Sie Chaos Dashboard und klicken Sie auf der Seite auf NEW EXPERIMENT, um ein neues Experiment anzulegen.
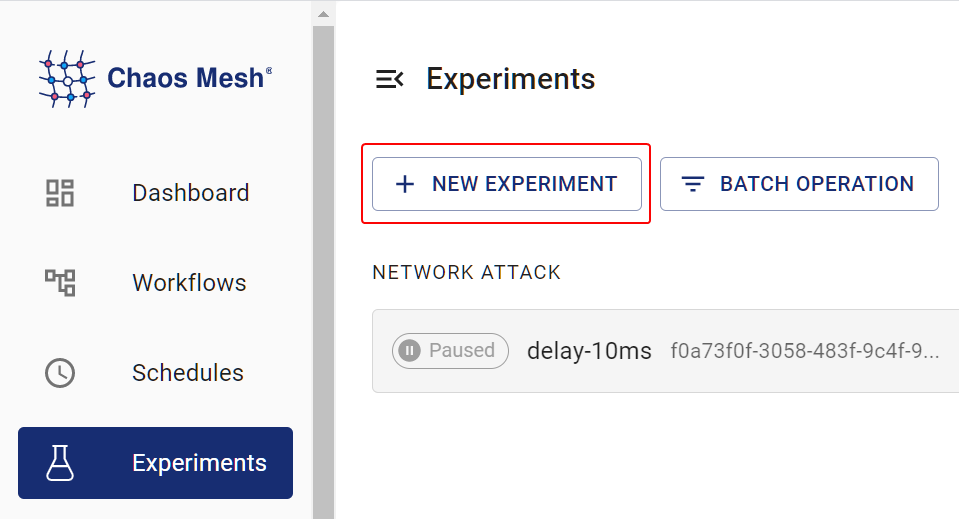
Neues Experiment erstellen -
Wählen Sie im Bereich Choose a Target die Option JVM FAULT und eine konkrete Aktion wie
RETURN. Tragen Sie dann die Details ein.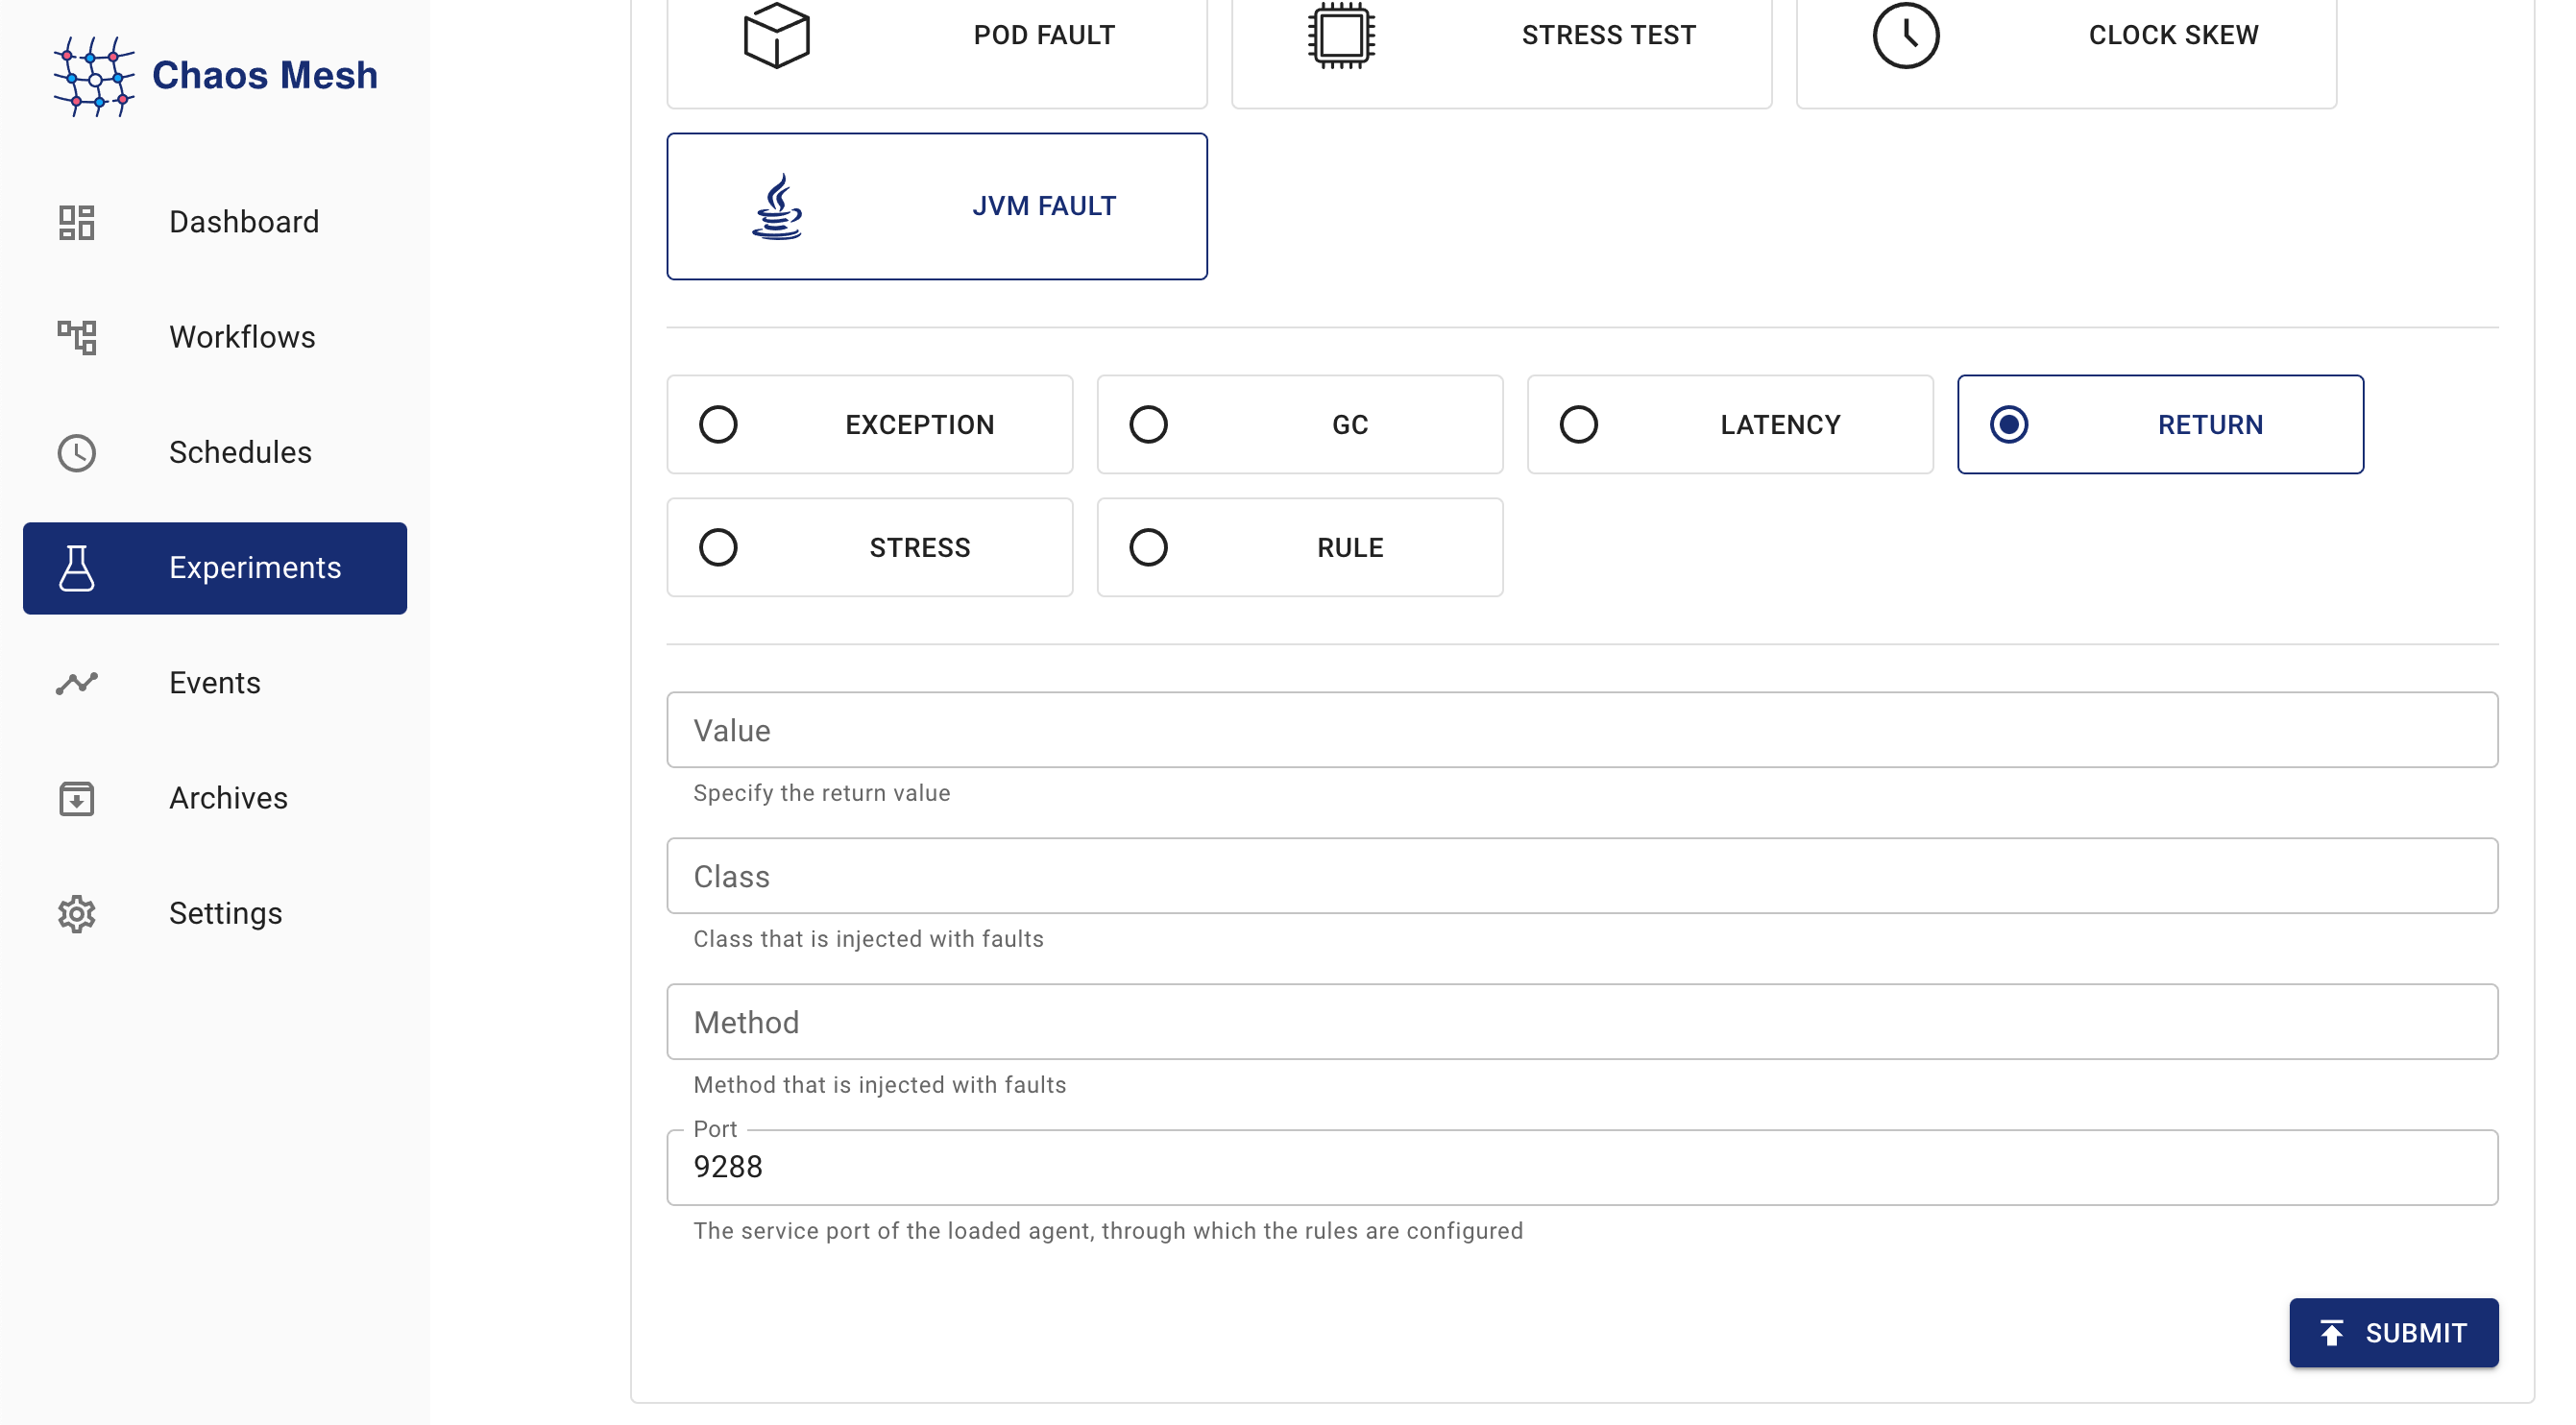
JVMChaos-Experimente Informationen zur Konfiguration finden Sie unter [Feldbeschreibung] (#field-description).
-
Ergänzen Sie die Experimentinformationen und legen Sie den Anwendungsbereich sowie die geplante Laufzeit fest.
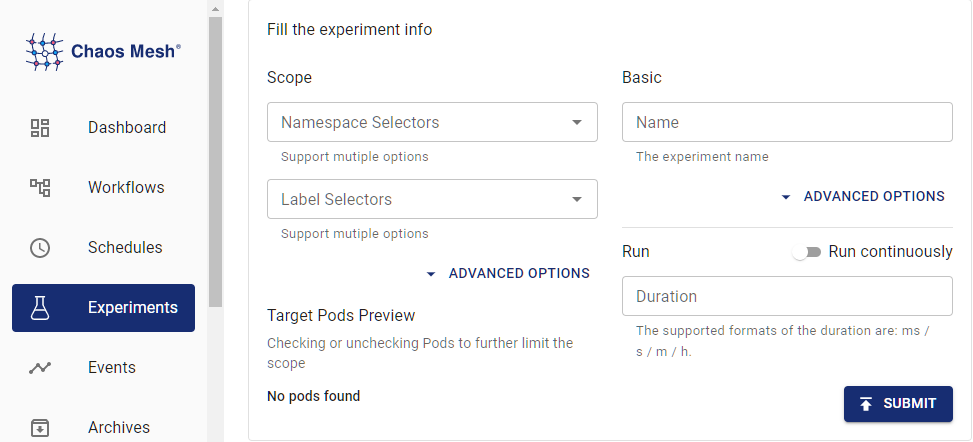
Experimentinformationen -
Übermitteln Sie die Experimentinformationen.
Experimenterstellung mit YAML-Dateien
Das folgende Beispiel zeigt die Anwendung und Auswirkungen von JVMChaos. Dabei wird die Rückgabewert-Manipulation einer Methode demonstriert. Die verwendeten YAML-Dateien finden Sie unter examples/jvm. Das Standardarbeitsverzeichnis für die folgenden Schritte ist ebenfalls examples/jvm. Der Standard-Namespace für Chaos Mesh ist chaos-mesh.
Schritt 1: Zielanwendung erstellen
Helloworld ist eine einfache Java-Anwendung, die hier als Testobjekt dient. Die Anwendung ist in example/jvm/app.yaml definiert:
apiVersion: v1
kind: Pod
metadata:
  name: helloworld
  namespace: helloworld
spec:
  containers:
    - name: helloworld
      # source code: https://github.com/WangXiangUSTC/byteman-example/tree/main/example.helloworld
      # this application will print log like this below:
      # 0. Hello World
      # 1. Hello World
      # ...
      image: xiang13225080/helloworld:v1.0
      imagePullPolicy: IfNotPresent
-
Erstellen Sie den Namespace für die Zielanwendung:
kubectl create namespace helloworld -
Stellen Sie den Anwendungs-Pod bereit:
kubectl apply -f app.yaml -
Führen Sie
kubectl -n helloworld get podsaus. Es sollte ein Pod namenshelloworldim Namespacehelloworlderscheinen.kubectl -n helloworld get podsErgebnis:
kubectl get pods -n helloworld
NAME         READY   STATUS    RESTARTS   AGE
helloworld   1/1     Running   0          2m
Wenn in der Spalte
READY1/1angezeigt wird, fahren Sie fort.
Schritt 2: Anwendungsverhalten vor Fehlerinjektion beobachten
Beobachten Sie das Verhalten der helloworld-Anwendung vor der Fehlerinjektion:
kubectl -n helloworld logs -f helloworld
Das Ergebnis sieht wie folgt aus:
0. Hello World
1. Hello World
2. Hello World
3. Hello World
4. Hello World
5. Hello World
Sie sehen, dass helloworld jede Sekunde eine Zeile Hello World ausgibt, wobei die Zeilennummer fortlaufend steigt.
Schritt 3: JVMChaos injizieren und prüfen
-
Ein JVMChaos-Experiment mit spezifischem Rückgabewert sieht wie folgt aus:
apiVersion: chaos-mesh.org/v1alpha1
kind: JVMChaos
metadata:
  name: return
  namespace: helloworld
spec:
  action: return
  class: Main
  method: getnum
  value: '9999'
  mode: all
  selector:
    namespaces:
      - helloworld
JVMChaos ändert den Rückgabewert der
getnum-Methode auf den Wert9999, sodass die Zeilennummer in derhelloworld-Ausgabe stets9999anzeigt. -
JVMChaos mit spezifischem Wert injizieren:
kubectl apply -f ./jvm-return-example.yaml -
Neuestes Log von
helloworldprüfen:kubectl -n helloworld logs -f helloworldDas Log zeigt folgendes:
Rule.execute called for return_0:0
return execute
caught ReturnException
9999. Hello World
Feldbeschreibung
| Parameter | Type | Description | Default value | Required | Example |
|---|---|---|---|---|---|
action | string | Indicates the specific fault type. The available fault types include latency, return, exception, stress, gc, and ruleData. | None | Yes | return |
mode | string | Indicates how to select Pod. The supported modes include one, all, fixed, fixed-percent, and random-max-percent. | None | Yes | one |
Die Bedeutungen der verschiedenen action-Werte sind:
| Value | Meaning |
|---|---|
latency | Increase method latency |
return | Modify return values of a method |
exception | Throw custom exceptions |
stress | Increase CPU usage of Java process, or cause memory overflow (support heap overflow and stack overflow) |
gc | Trigger garbage collection |
ruleData | Trigger faults by setting Byteman configuration files |
Für unterschiedliche action-Werte können verschiedene Konfigurationsfelder ausgefüllt werden.
Parameter für latency
| Parameter | Type | Description | Required |
|---|---|---|---|
class | string | The name of the Java class | Yes |
method | string | The name of the method | Yes |
latency | int | The duration of increasing method latency. The unit is millisecond. | Yes |
port | int | The port ID attached to the Java process agent. The faults are injected into the Java process through this ID. | No |
Parameter für return
| Parameter | Type | Description | Required |
|---|---|---|---|
class | string | The name of the Java class | Yes |
method | string | The name of the method | Yes |
value | string | Specifies the return value of the method. Currently, the item can be numeric and string types. If the item (return value) is string, double quotes are required, like "chaos". | Yes |
port | int | The port ID attached to the Java process agent. The faults are injected into the Java process through this ID. | No |
Parameter für exception
| Parameter | Type | Description | Required |
|---|---|---|---|
class | string | The name of the Java class | Yes |
method | string | The name of the method | Yes |
exception | string | The thrown custom exception, such as 'java.io.IOException("BOOM")'. | Yes |
port | int | The port ID attached to the Java process agent. The faults are injected into the Java process through this ID. | No |
Parameter für stress
| Parameter | Type | Description | Required |
|---|---|---|---|
cpuCount | int | The number of CPU cores used for increasing CPU stress. You must configure one item between cpu-count and mem-type. | No |
memType | string | The type of OOM. Currently, both 'stack' and 'heap' OOM types are supported. You must configure one item between cpu-count and mem-type. | No |
port | int | The port ID attached to the Java process agent. The faults are injected into the Java process through this ID. | No |
Parameter für gc
| Parameter | Type | Description | Required |
|---|---|---|---|
port | int | The port ID attached to the Java process agent. The faults are injected into the Java process through this ID. | No |
Parameter für ruleData
| Parameter | Type | Description | Required |
|---|---|---|---|
ruleData | string | Specifies the Byteman configuration data | Yes |
port | int | The port ID attached to the Java process agent. The faults are injected into the Java process through this ID. | No |
Beim Verfassen der Regelkonfigurationsdatei beachten Sie das spezifische Java-Programm und die byteman-rule-language. Beispiel:
RULE modify return value
CLASS Main
METHOD getnum
AT ENTRY
IF true
DO
    return 9999
ENDRULE
Sie müssen die Zeilenumbrüche in der Konfigurationsdatei als Newline-Zeichen "\n" maskieren und den maskierten Text als Wert für "rule-data" verwenden, wie folgt:
\nRULE modify return value\nCLASS Main\nMETHOD getnum\nAT ENTRY\nIF true\nDO return 9999\nENDRULE\n"